There are many standard values you can import and add to contacts in your CallTime.AI database, but you may want to create custom fields to track additional information. Here's how you can do that:
Create your library of Custom Fields
- Use the left-hand navigation bar to access your campaign settings
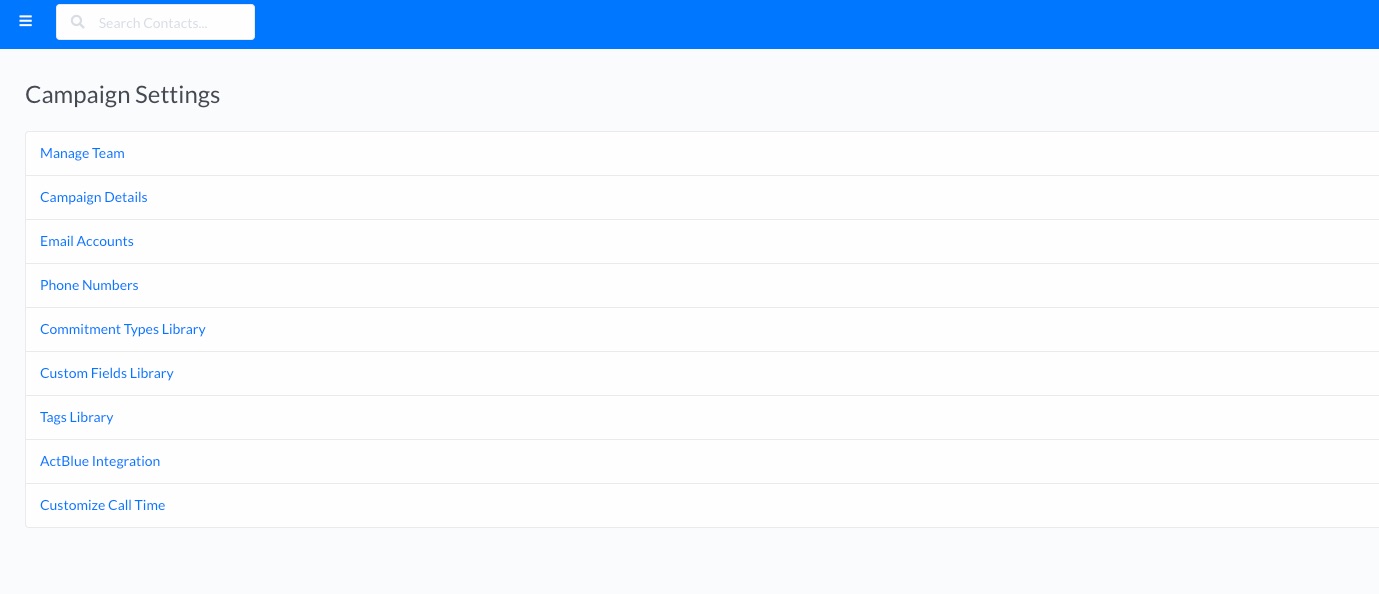
- Select Custom Fields Library
- Select +Add Custom Field to create a new field type. From here:
- Create a Label, to determine what this field will be called in your CallTime.AI account
- Create an Export Field Name, which will set the column header for data exported from this field
- Select from any of the following formats for data you enter into this field: Text, Text Area (long format), Number, Date, List of Options, Checkboxes. For List of Options and Checkboxes, you will also have the opportunity to create the list of potential selections.
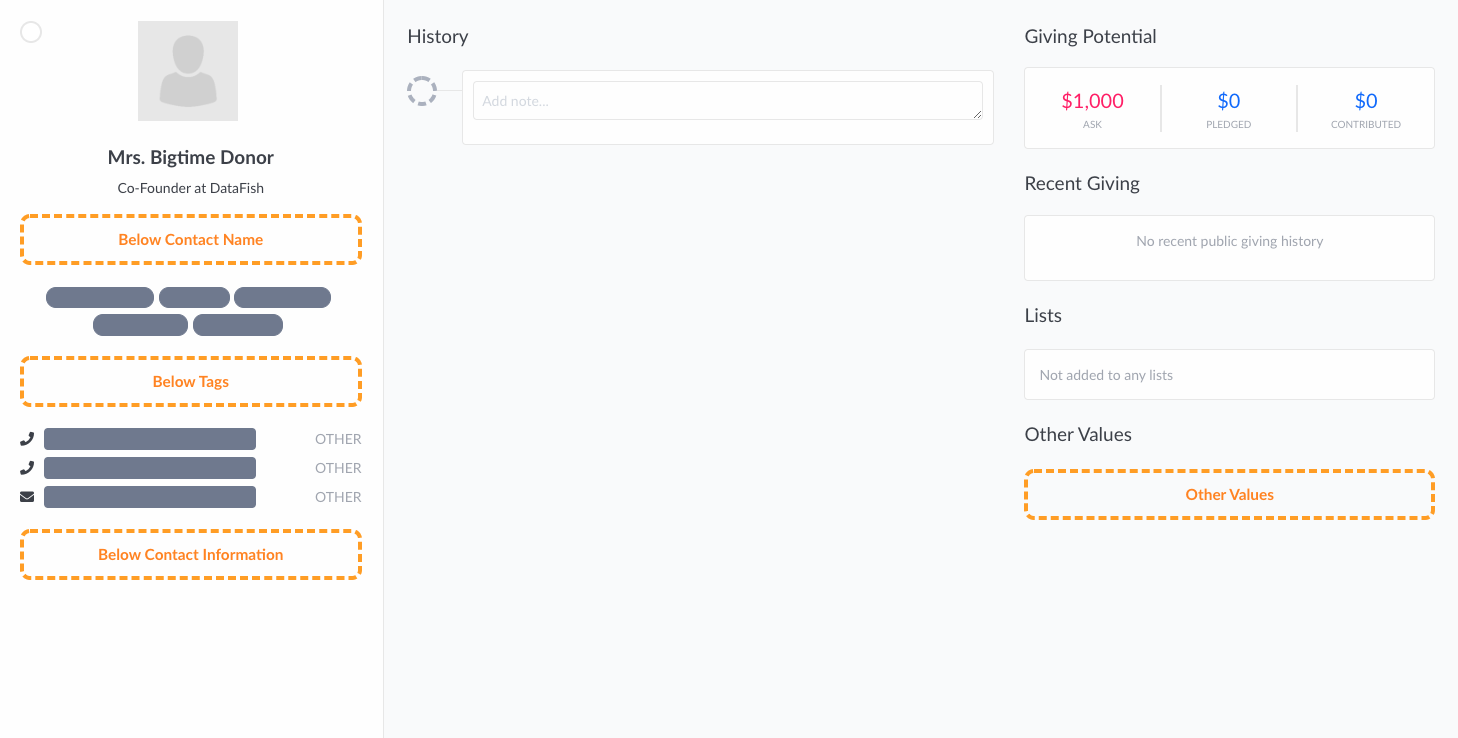
**Please note: be sure not to include non-numerical figures in a custom field that you have designated for the "Number" format. If you wish to include a non-numerical symbol (i.e., a dollar sign, parentheses, hyphens, etc.) just be sure to designate that field as "Text" which allows numbers and non-numbers to exist together in the same field. - Decide where on a contact's profile you wish to have that custom field appear:
Order your Custom Fields
If you have more than one custom field assigned to one of the four areas you can choose from when displaying your custom fields (see above), you will also have the option of customizing the order in which those fields appear.
- Use the left-hand navigation bar to access your campaign settings
- Select Custom Fields Library
- Scroll to the section called Order Fields in Each Section
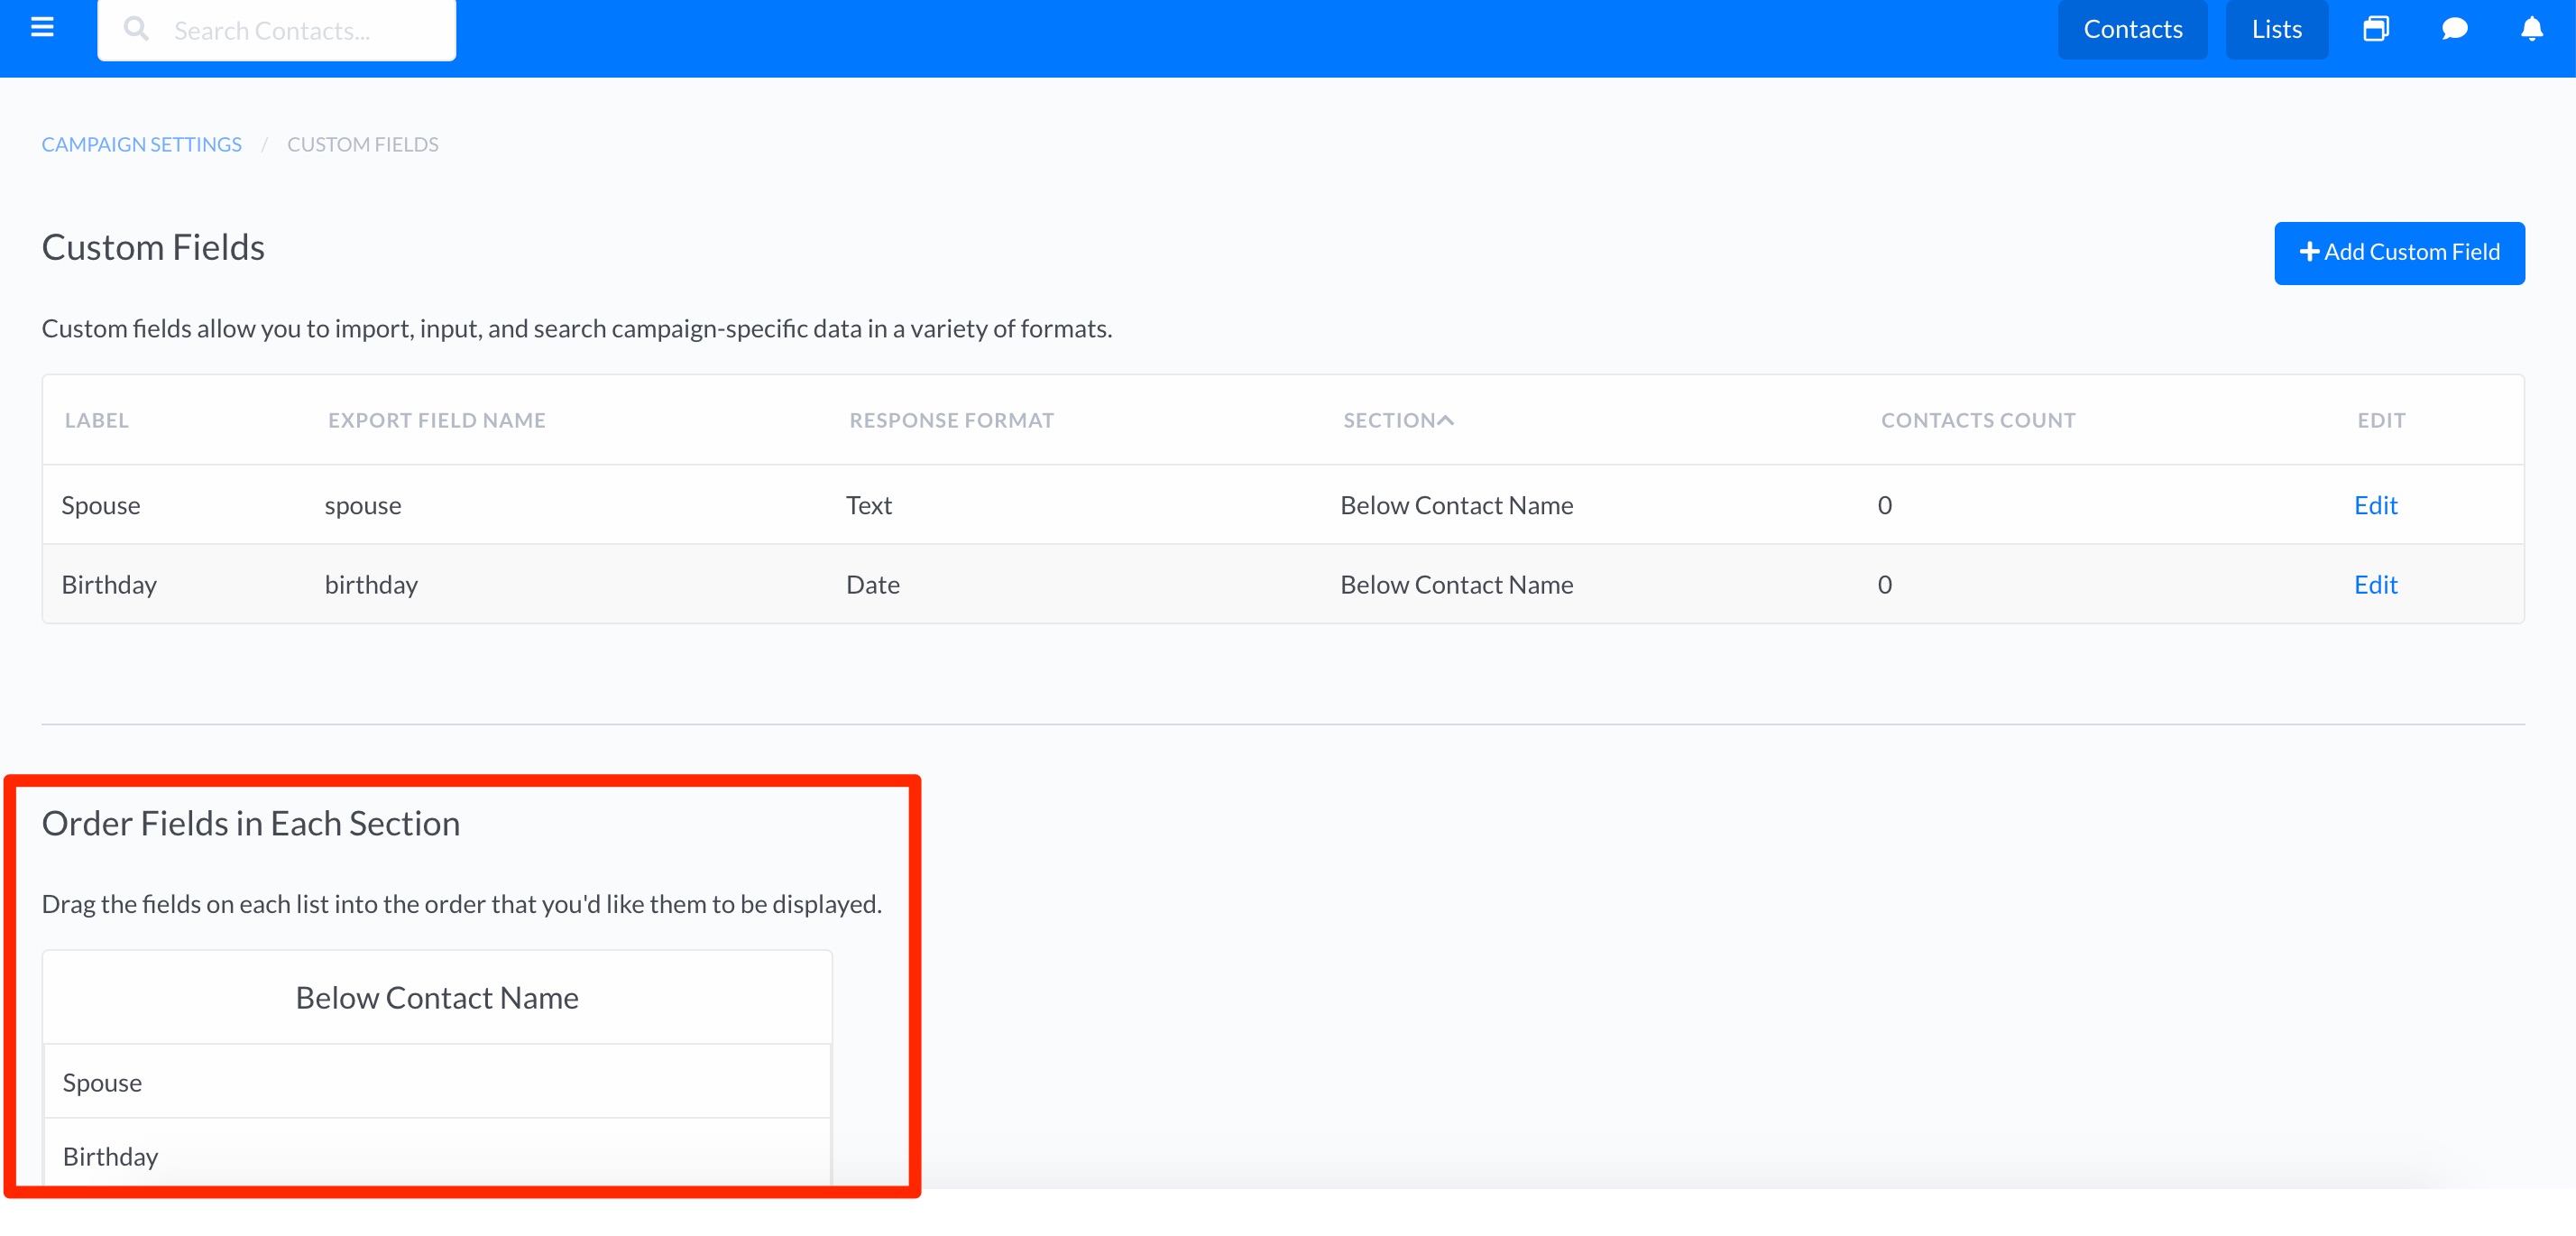
- Use your mouse to drag and drop the order of the fields, as you wish them to appear on each contacts' profile.
Adding Custom Fields to Contacts
You can add a custom field value to a contact by editing the contact individually, or by importing the contact with the custom field value.
To add to an individual contact:
- Make sure the custom field has been added to your Custom Field Library (see above)
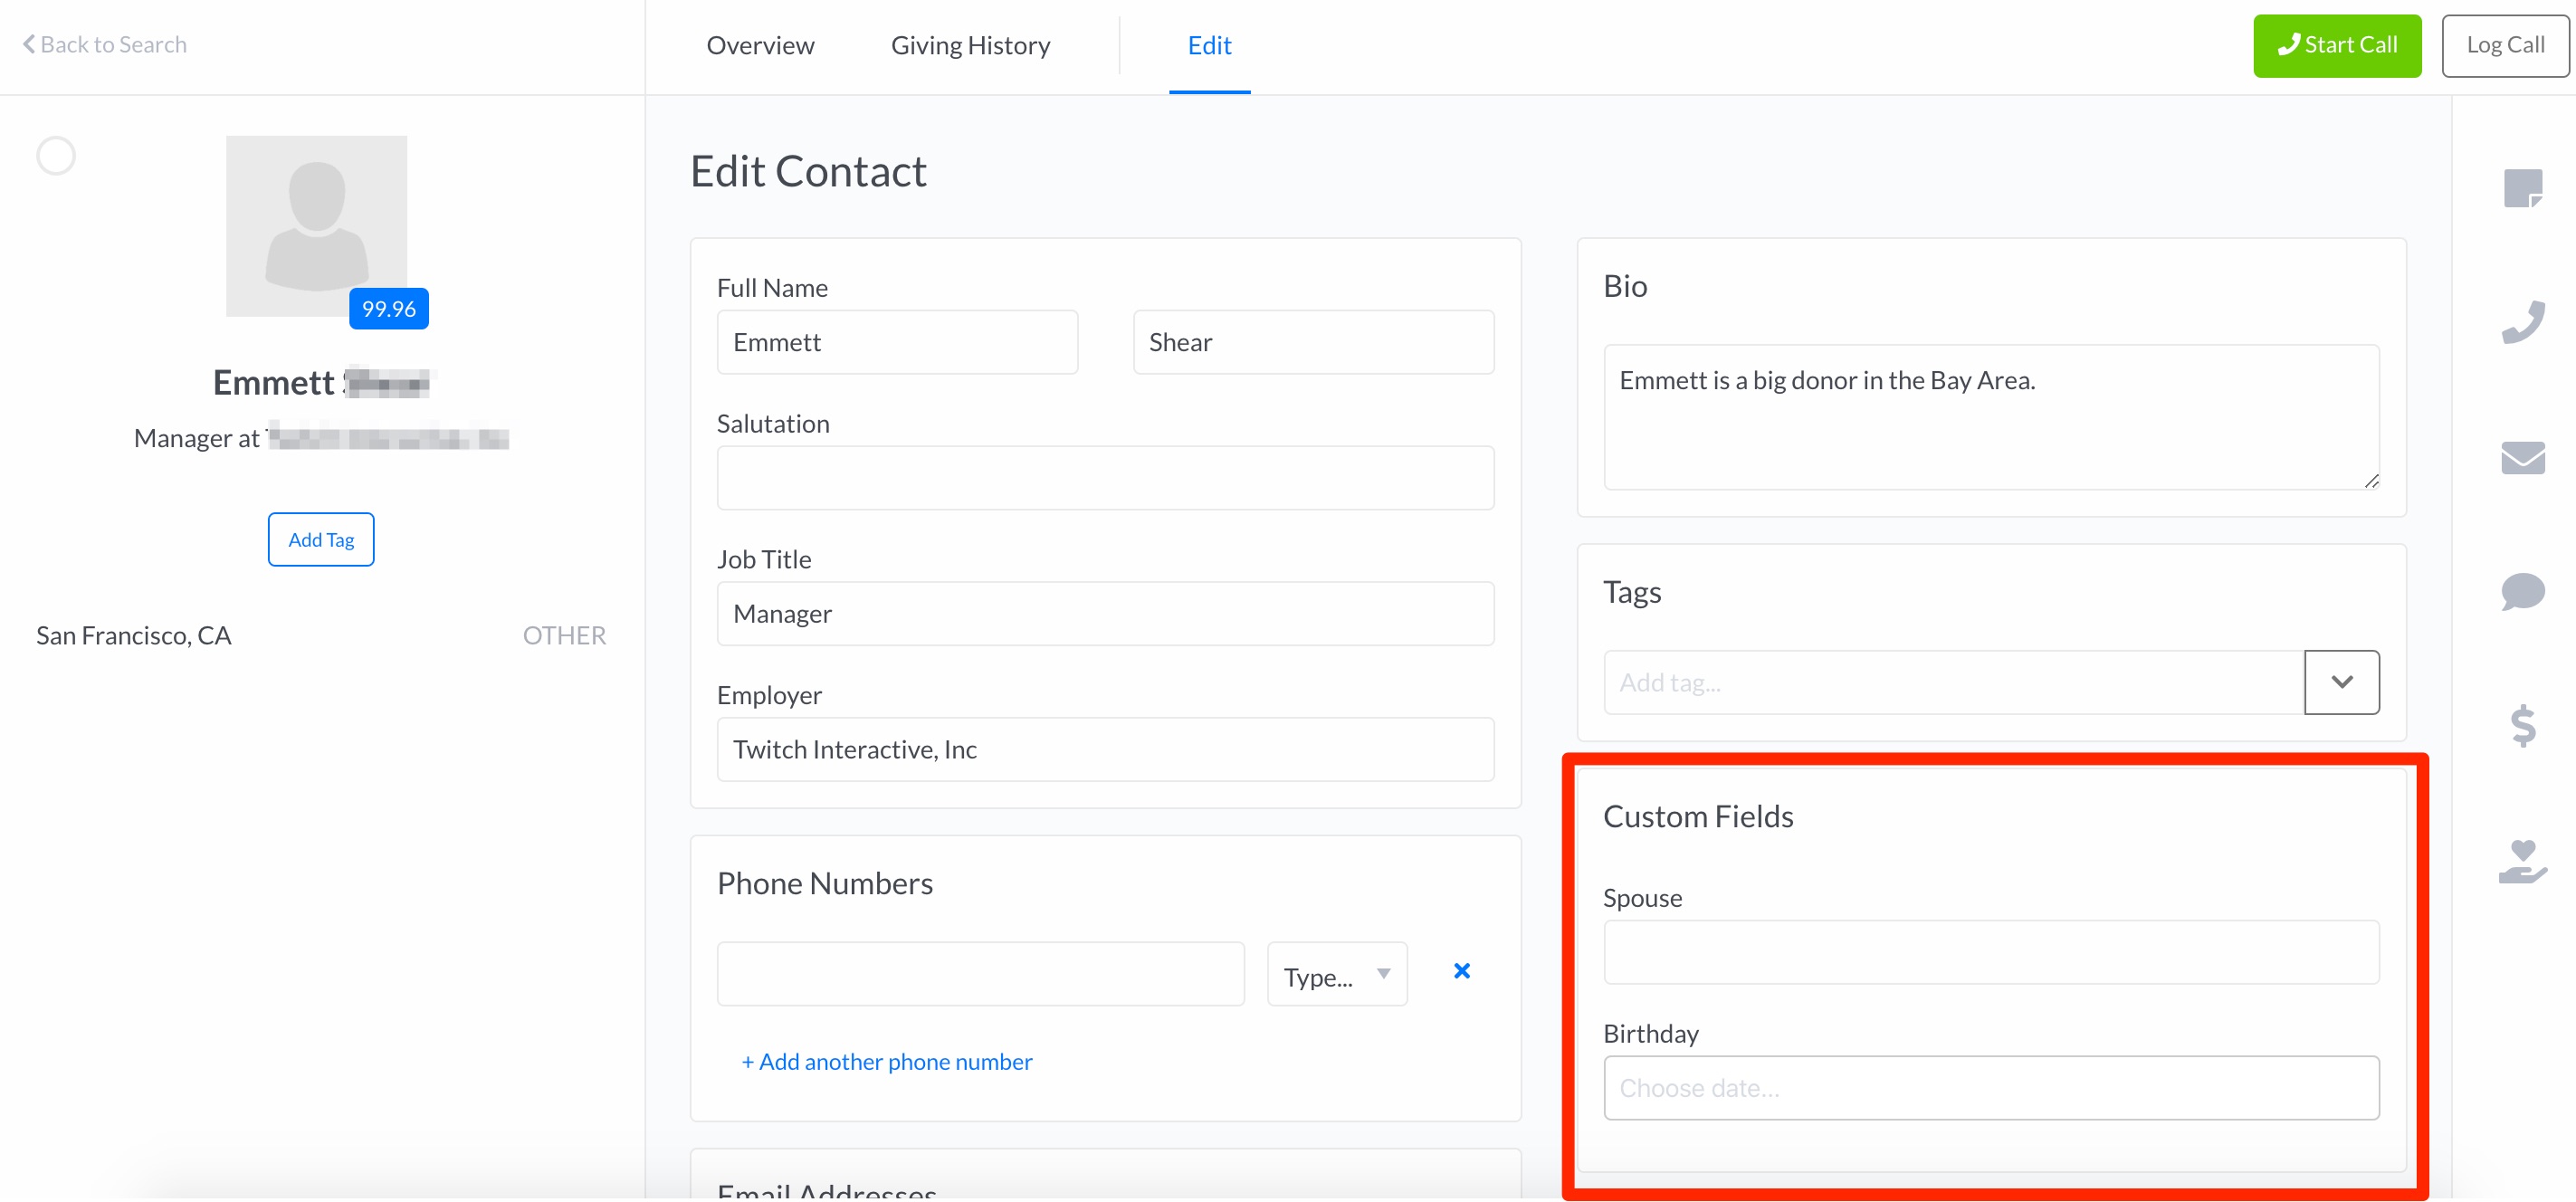
- Click Edit Contact on the contact's profile.
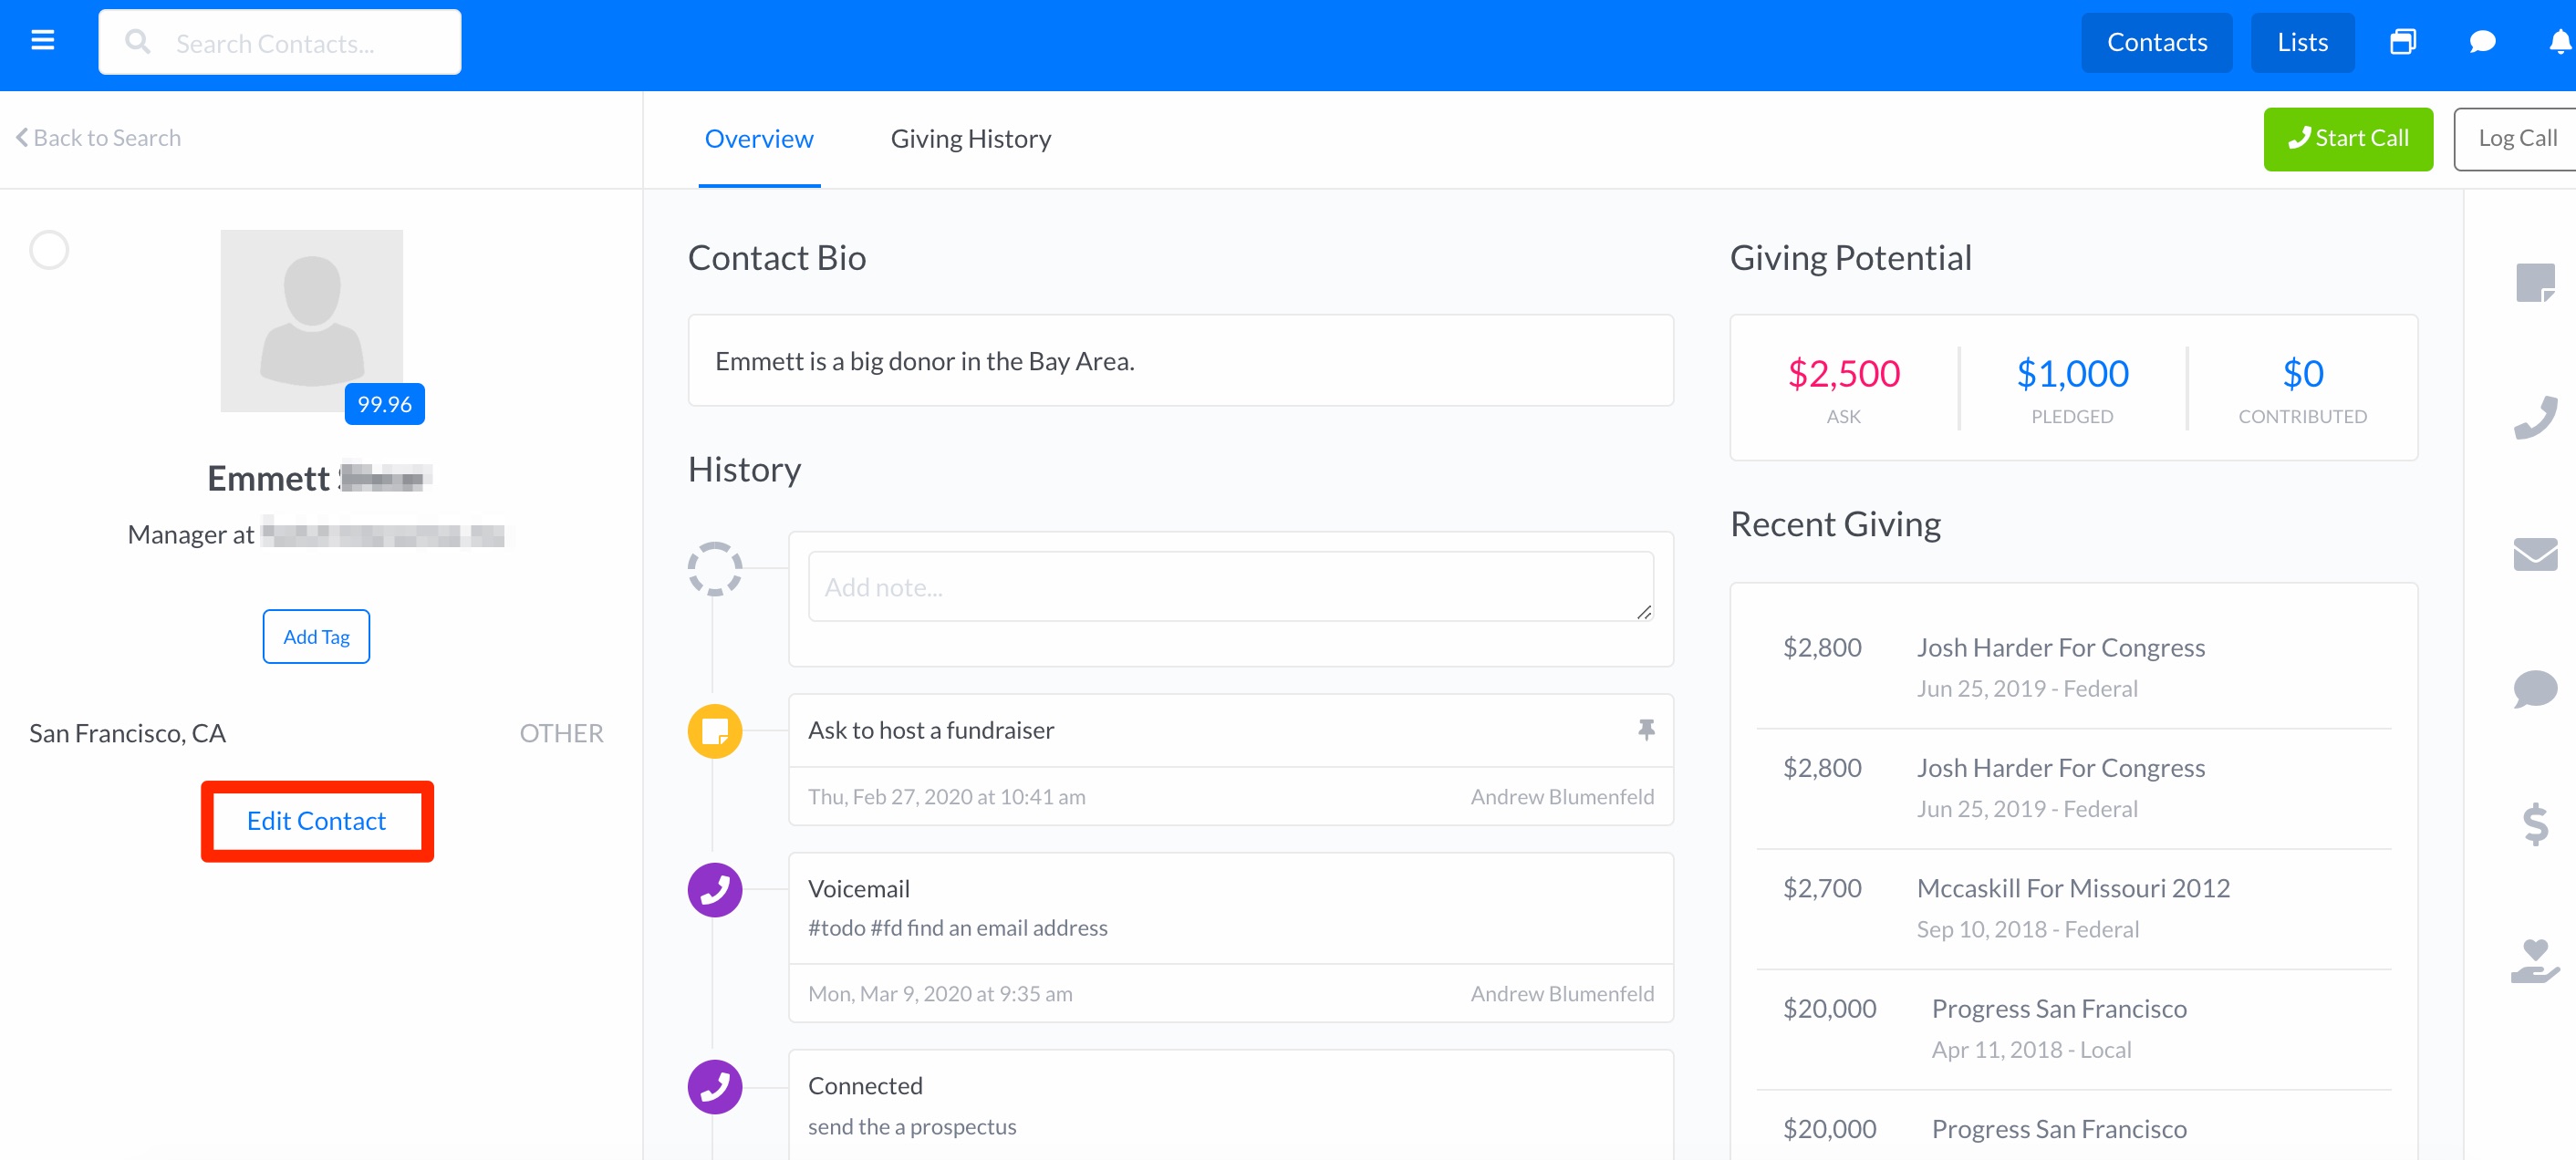
- Add the values manually in the Custom Fields section of the Edit Contact page

- Click Update Contact to save your changes
To add via import:
- Make sure the custom field has been added to your Custom Field Library (see above)
- Follow the typical instructions for importing data via CSV file.
Searching by Custom Field Values
Once you've created a library of custom fields, and added values to those fields for your contacts, you can build searches using those fields as a criteria.
- Use the Advanced Search tool to build your search
- Select from the Custom Fields options to include them in your search
Exporting Custom Field Values
- Follow the typical instructions for generating a contact export
- All custom fields will automatically be included in all exports
Comments
0 comments
Please sign in to leave a comment.