There may be people you wish to keep in your CallTime.AI database, but that you want to avoid contacting for a period of time. One way to keep track of this is to flag those contacts as "Do Not Contact." Once a contact is flagged this way, it will be prominently displayed on that contact's record, and you will also be able to include or exclude those contacts from searches that you run.
There are three ways to mark a contact as "Do Not Contact":
Add or remove the "Do Not Contact" marker in bulk
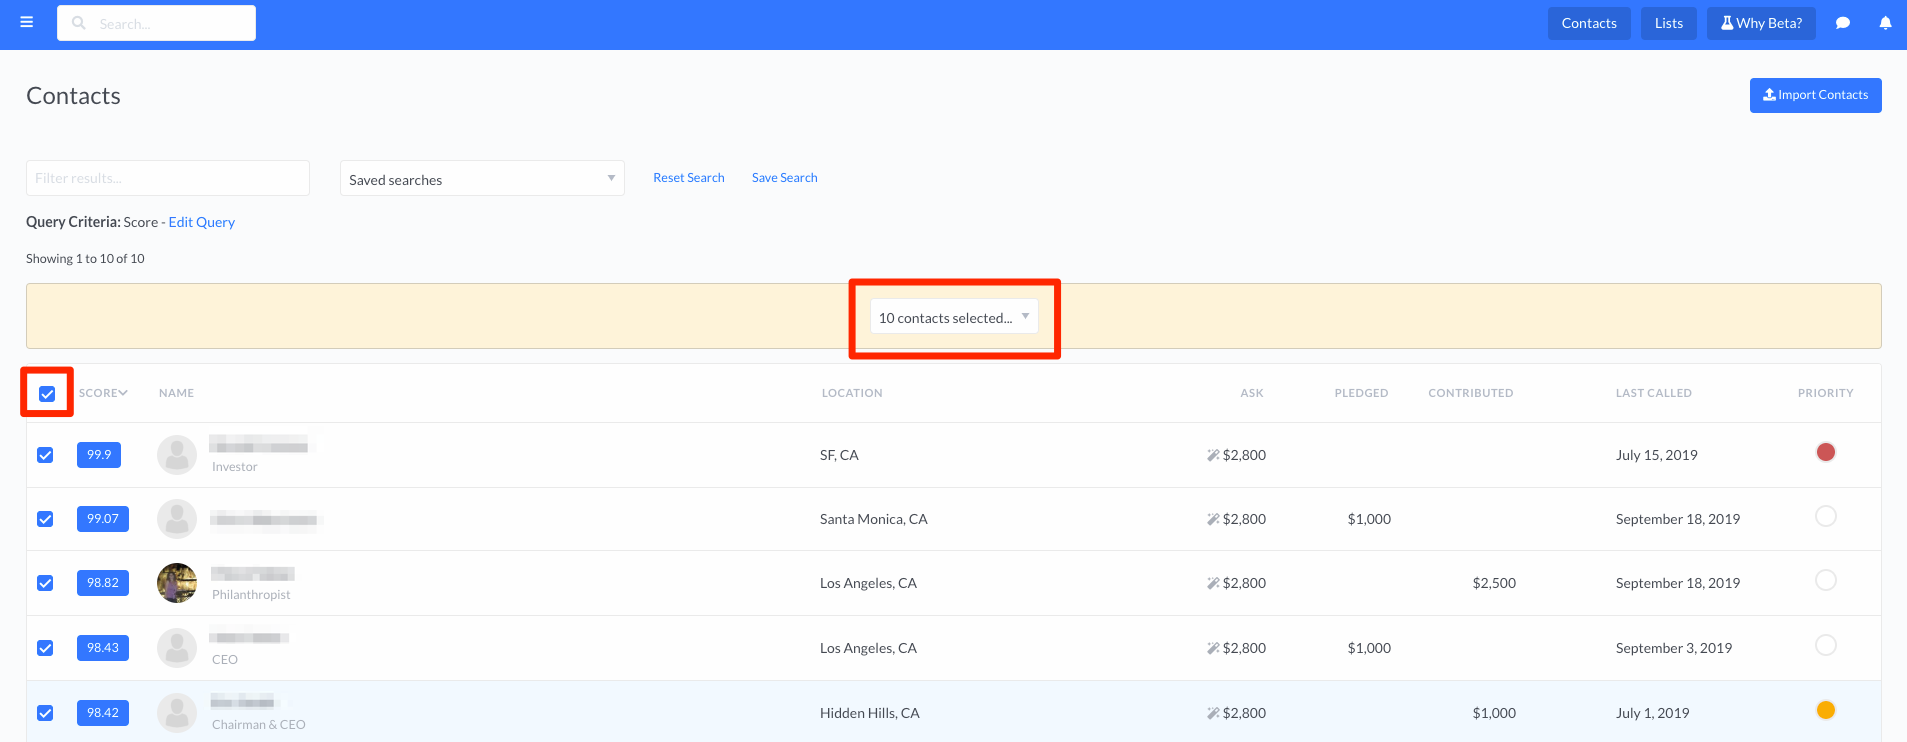
- Run a search to find all the contacts requiring the tag.
- Use the check-boxes next to the contacts to select them, checking the box at the very top of the search results to "select all."

- A drop-down menu will appear, noting the number of contacts you have selected. Click the menu, and select either Add to "Do Not Contact" or Remove from "Do Not Contact."
Add or remove the "Do Not Contact" marker to a single contact, by editing the contact
- On the desired contact's donor profile, click on the blue "Edit Contact" button on the left of the page.
- In the bottom-right corner, click either Add to "Do Not Contact" or Remove from "Do Not Contact."
- Click "Update Contact" when finished.
Add the "Do Not Contact" marker to a single contact, while logging a call
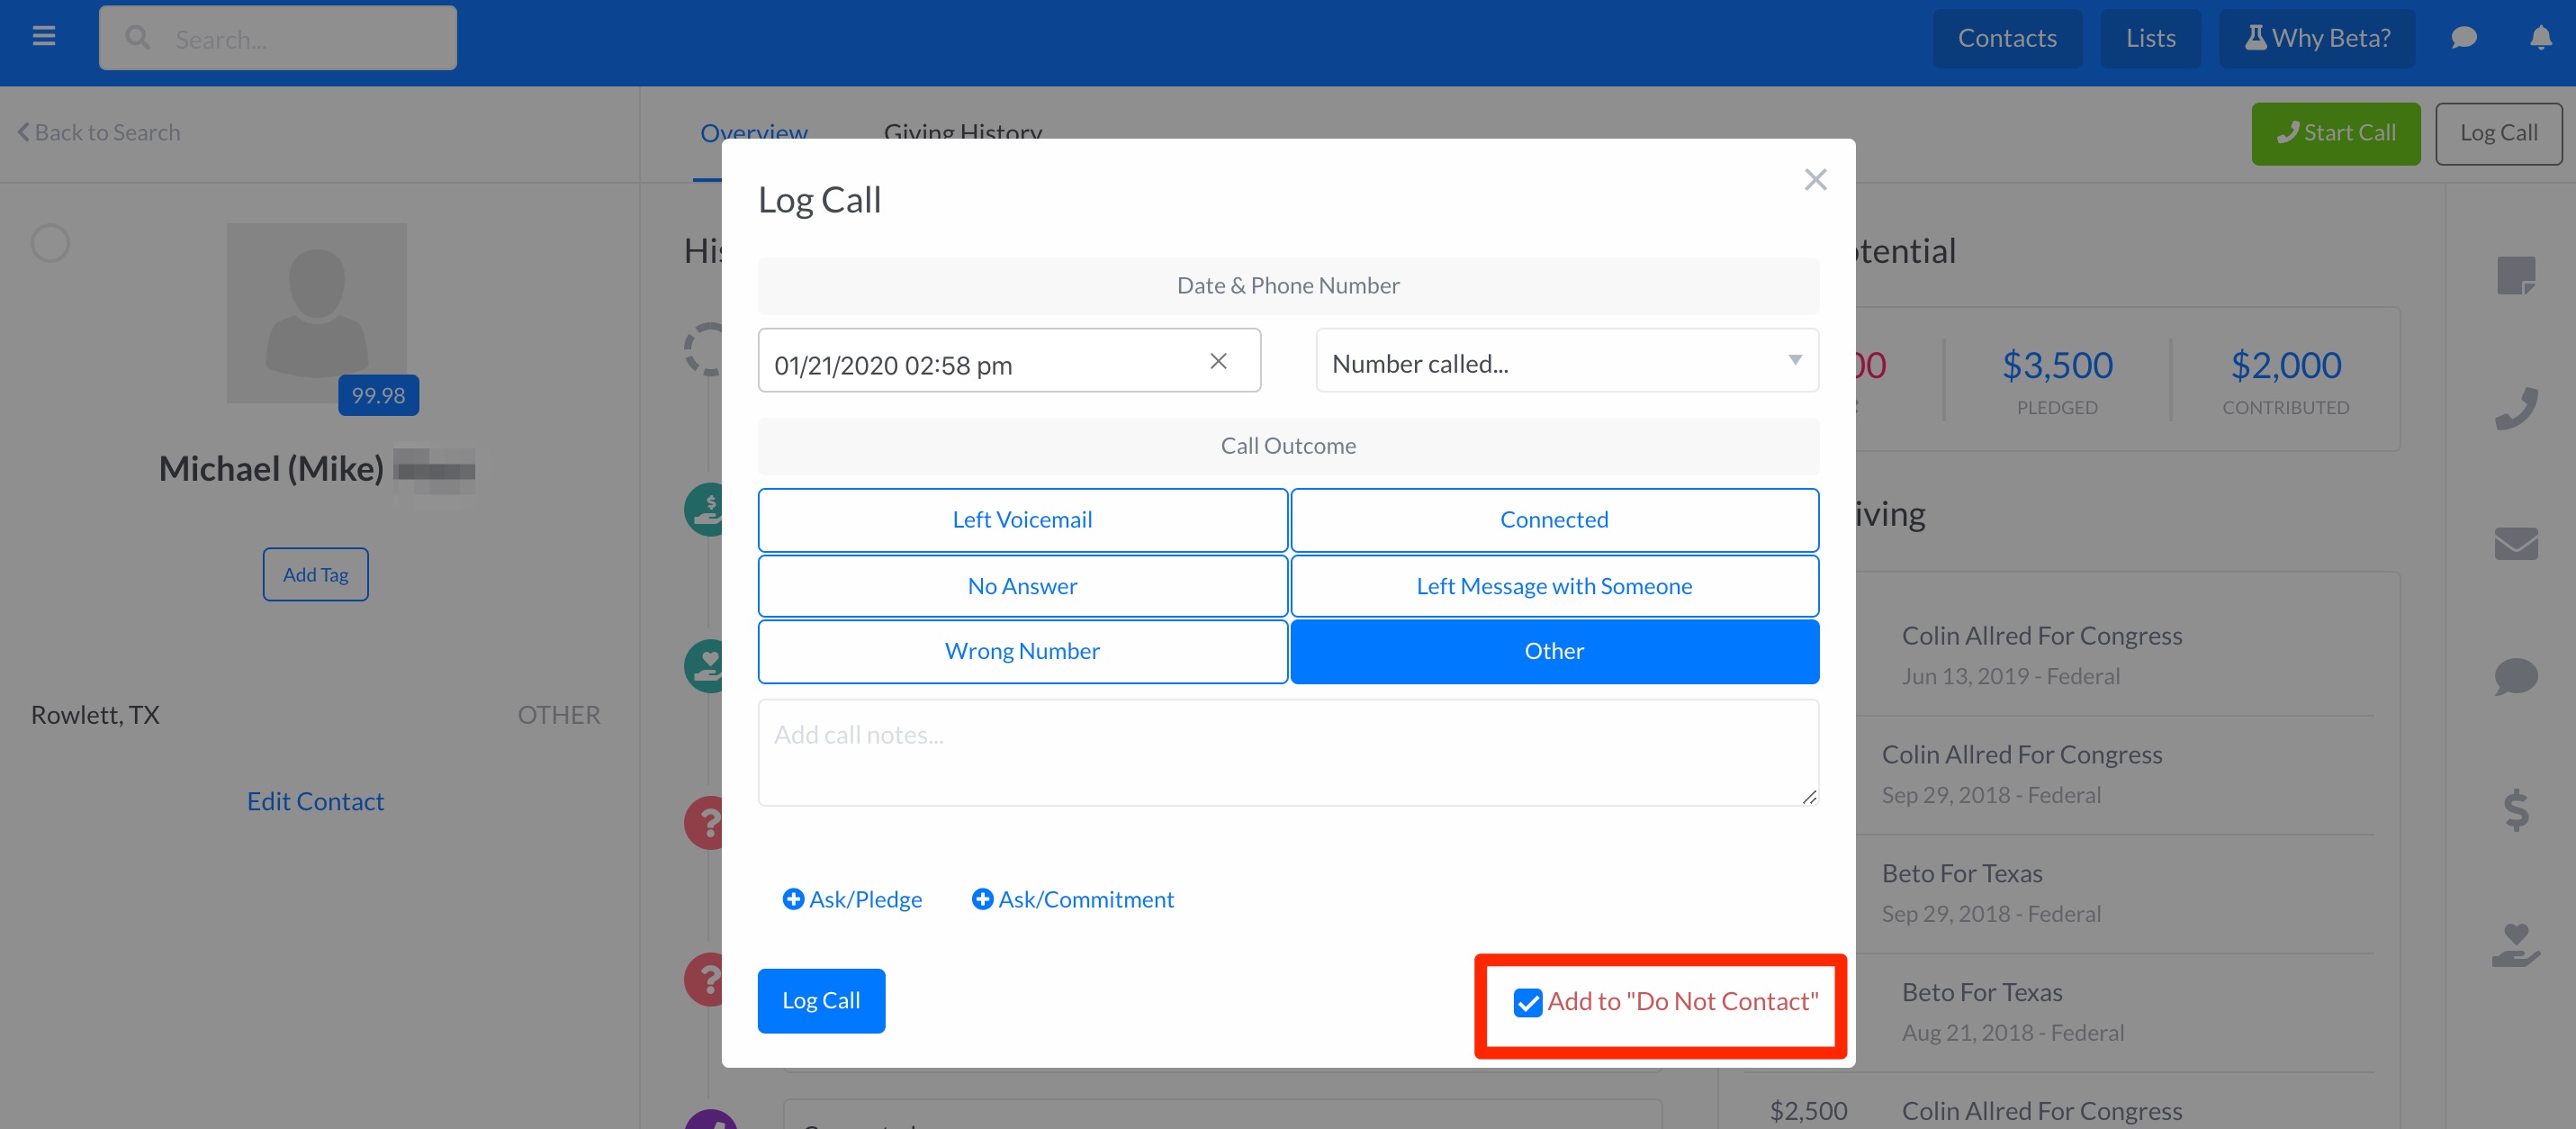
- On the desired contact's donor profile, click Log Call in the top righthand corner of the page.
- When your Call Outcome is Wrong Number, Connected, or Other you will have the option to add that contact to the Do Not Contact list before logging the call.

How "Do Not Contact" is Displayed
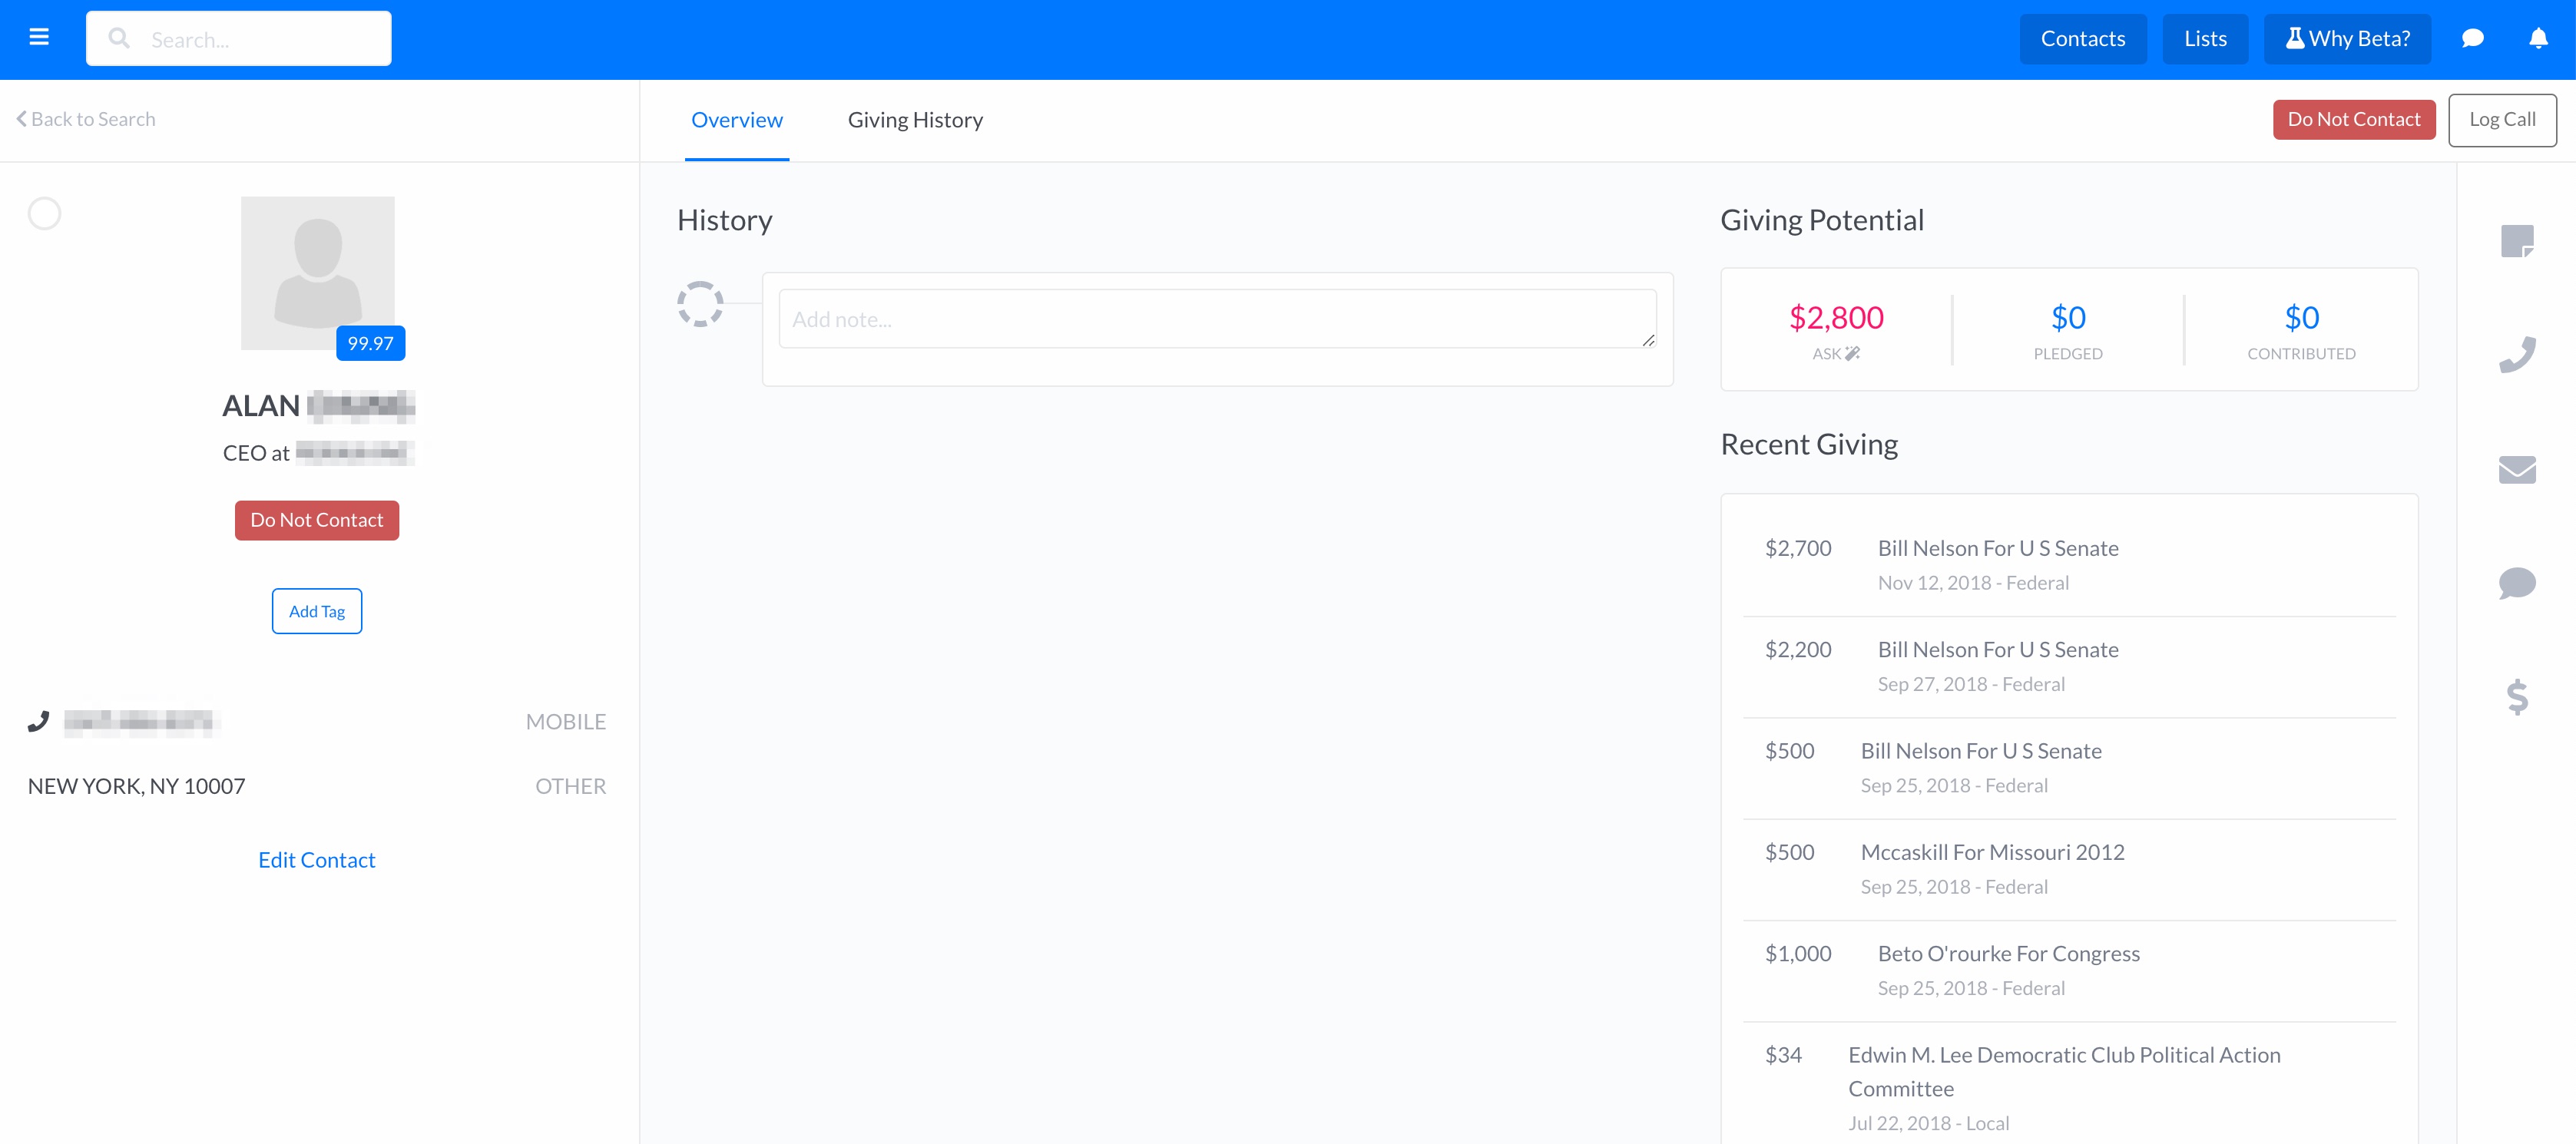
When the "Do Not Call" flag is added to a contact, it is prominently displayed on that contact's record:

You can also see a "DNC" notation near the name of that contact in the list view of your contacts:

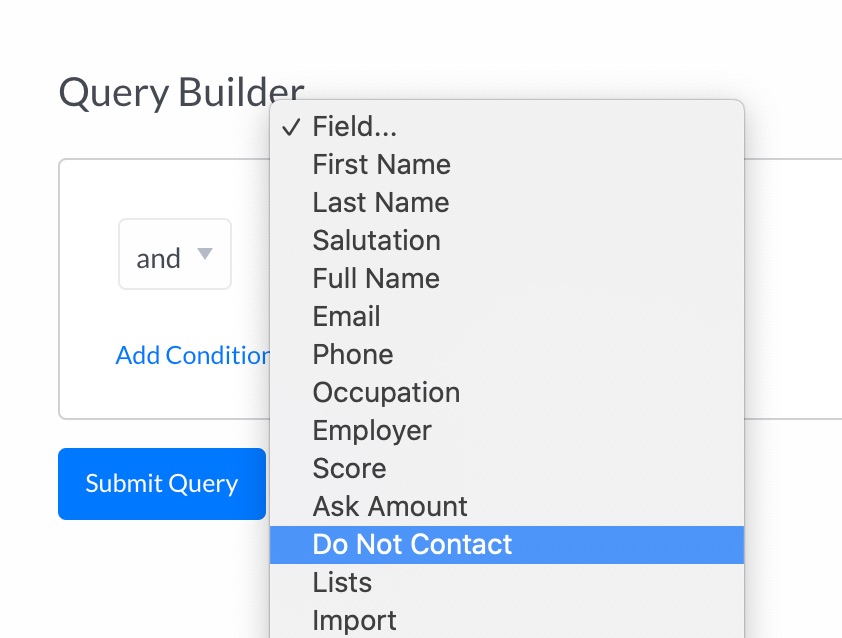
Finally, you can include or exclude contacts marked as "Do Not Contact" from your searches:

Learn about many more types of searches you can run on your data here.
Comments
0 comments
Please sign in to leave a comment.